Desde la parte inferior de la cabeza, utilice un peine o dedo índice para dividir (horizontalmente) el cabello en la parte inferior de la cabeza, es decir, justo debajo de la oreja hasta la segunda oreja.Además, puede iniciar la división aún más abajo, comenzando cuando quiera insertar el primer gráfico *
STEP 2 - HAT SECTION
Clips in Hair Extensions should be attached from the bottom to the top. Starting at the lowest point of the hairline and using a tail comb or index finger, create a part where you want to cut your hair.
STEP 3 - CLIP ON THE HAIR
Clips in Hair Extensions should be attached from the bottom to the top. Starting at the lowest point of the hairline and using a tail comb or index finger, create a part where you want to cut your hair.
STEP 4 - PREPARE THE FIRST TRICK
Prendi la prima trama dal tuo mazzo di Clip in Hair Extensions. La prima trama dovrebbe essere abbastanza lunga, in modo che la trama sia abbastanza larga da poter essere posizionata sul retro dell'attaccatura dei capelli. Quindi apri tutte le clip in modo che siano pronte per essere inserite nei tuoi capelli.
STEP 5 - POSITIONING OF THE FIRST DRAWER
Next, take one of the largest hair textures and insert the open center clip just below the split. Insert the snap clip on the hair not on the raw scalp. Close the clip, then grab your hair. Repeat with the remaining clips.
STEP 6 - CREATE A NEW START
To do this, comb a layer of hair, with about half an inch between each layer of weft. Each time secure the extra hair, over the head.
STEP 7 - POSITIONING OF THE RESIDUAL REMAINS
Now insert the remaining frames in the same way as above. Repeat the process with a new division above each filling extension.
STEP 8 - CHECKING THE BRUSHES
Now that the clip in the hair extensions is attached, slide your fingers along the texture to make sure it is flat against your head across the entire width. If there are gaps, correct this by snapping the open clip, lifting it out of the hair and repositioning it so that the weft is flat.
STEP 9 - POSITIONING OF THE SIDE PIECES
Insert and position the 4 sides so as to frame the face and merge with your hair.
STEP 10 - REMOVE THE BEAUTIFUL HAIR SPOTS
To remove the clips in hair extensions, snap open all clips and gently lift them upwards and away from the hair. Never attempt to remove a texture without first opening all clips.
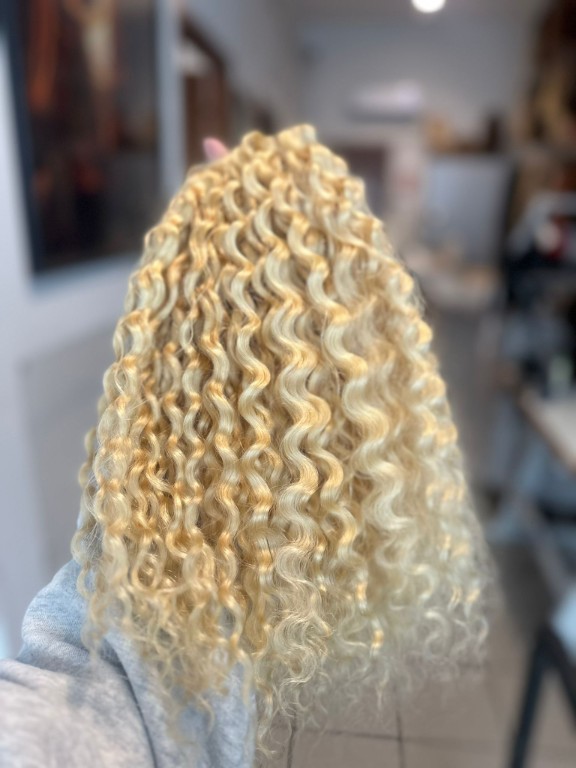
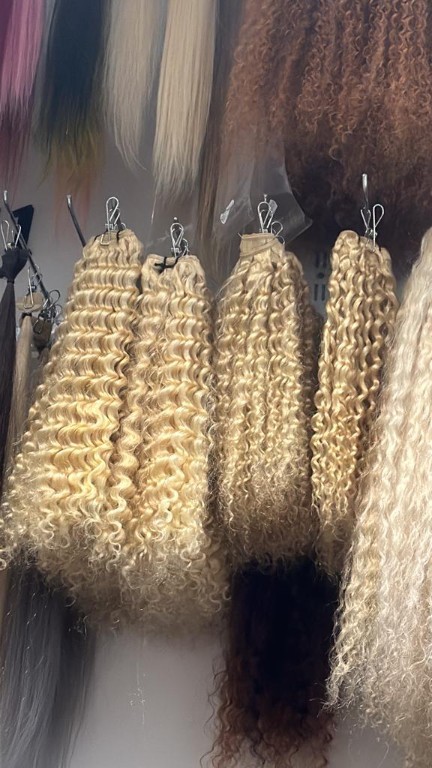
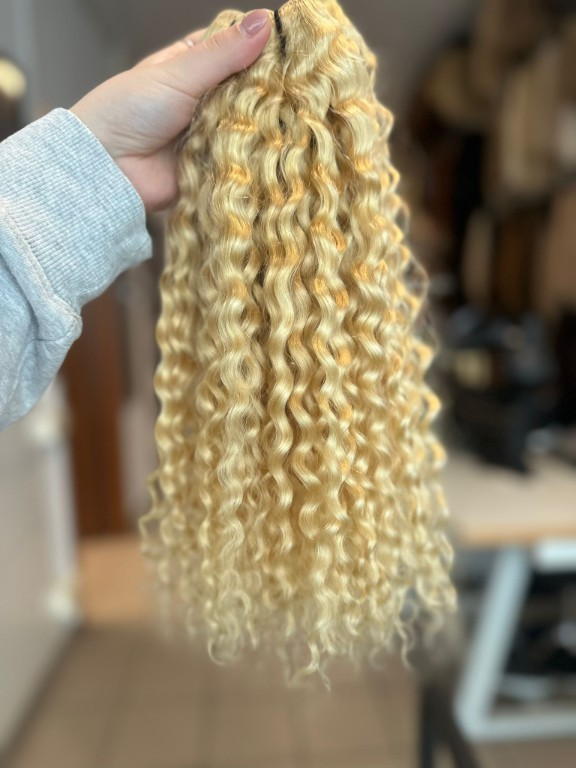
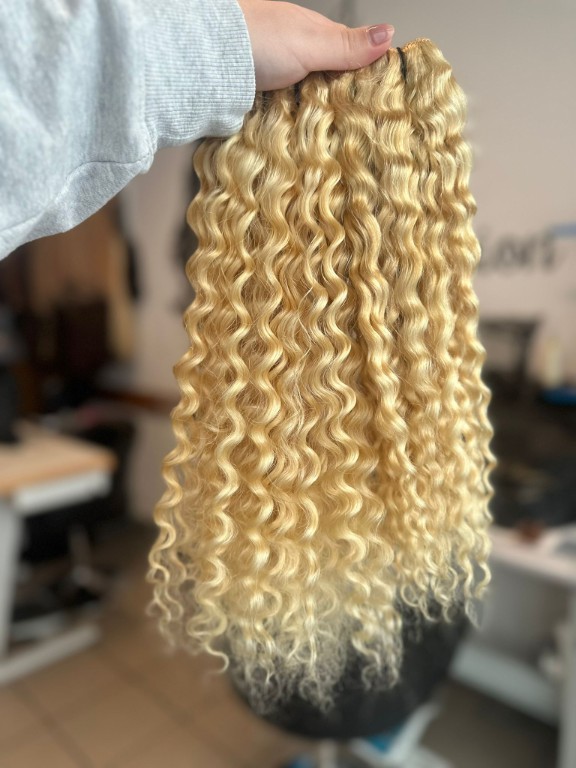
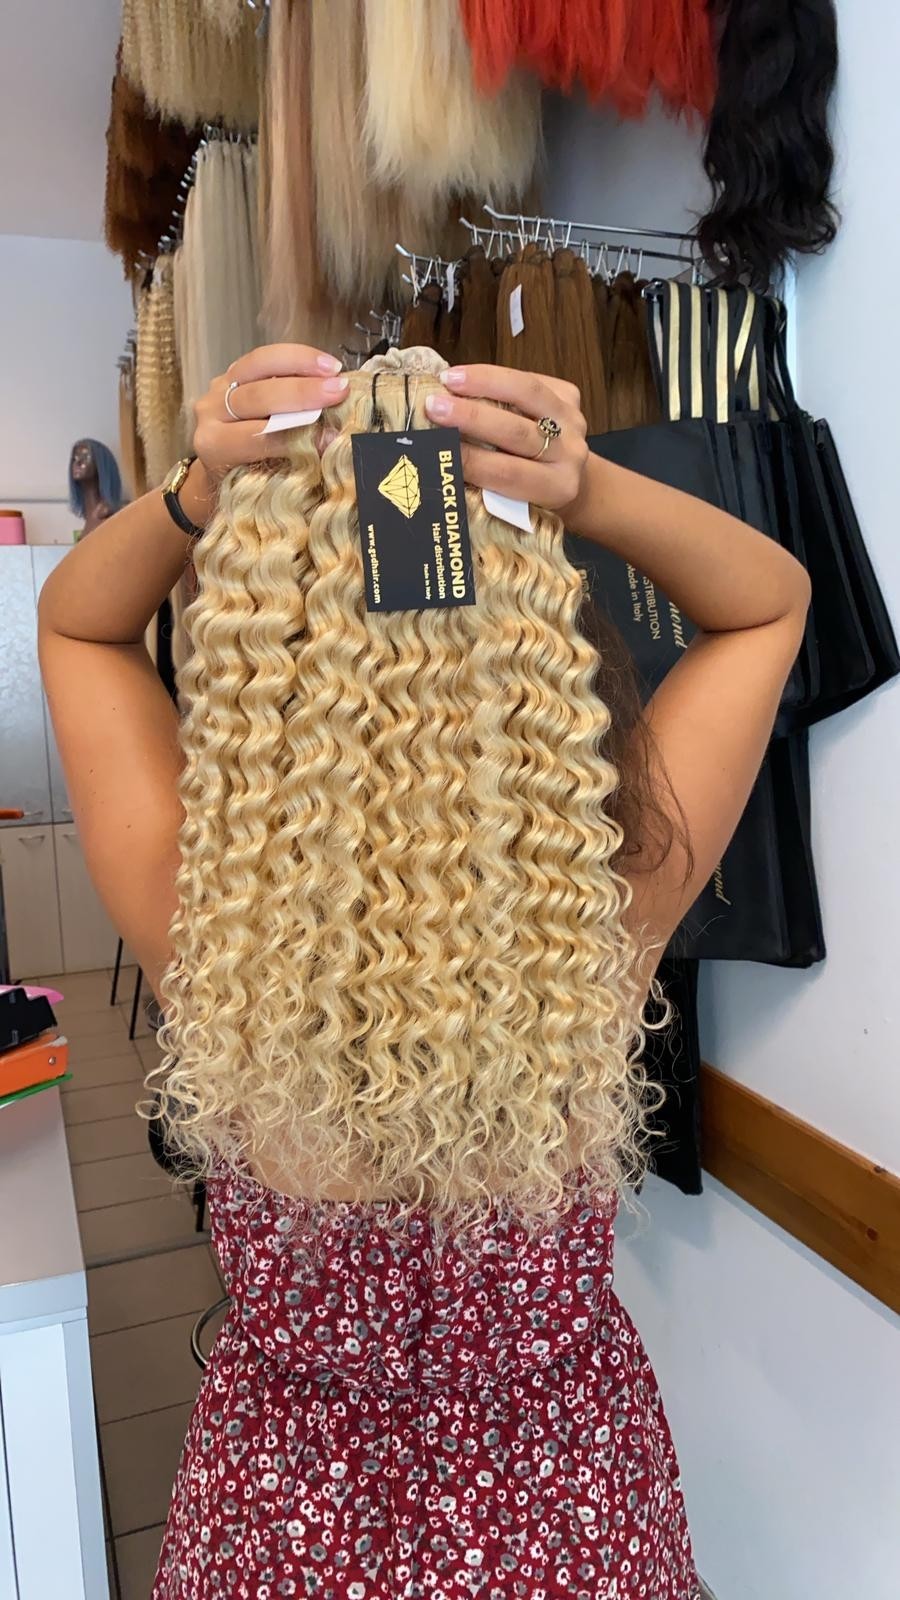
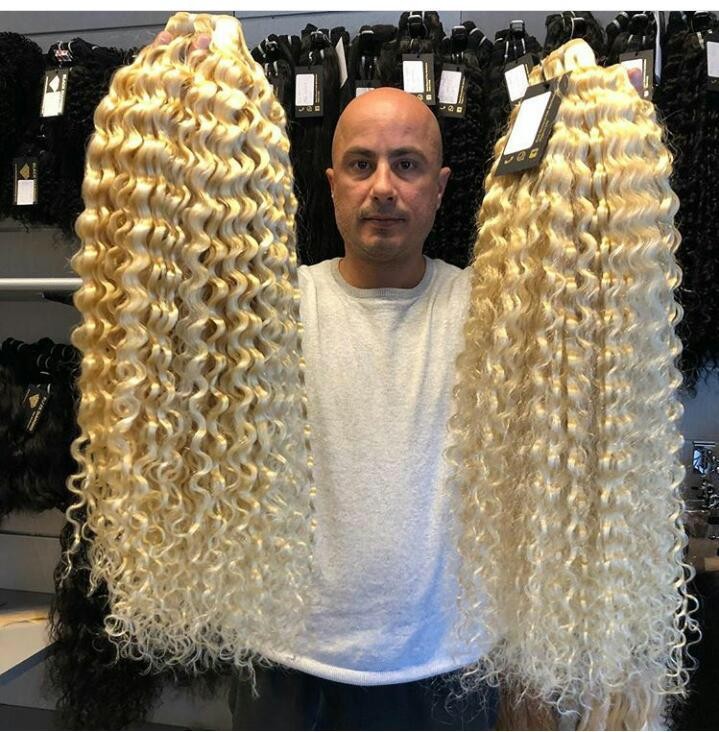
We have natural curly weaves, each 100 gram skein, available in the lengths:
25 cm / 10 inches-pulgadas 35 cm / 14 inches-pulgadas 45 cm / 18 inches-pulgadas 55cm / 22 inches-pulgadas 65 cm / 26 inches-pulgadas 75 cm / 30 inches-pulgadas 85 cm / 34 inches-pulgadas
!! 100% natural hair !!
For any information do not hesitate to contact us: +39 3318785070 +39 3929358692 +39 3917609097 +39 3926430043 +39 0552052212
Weight: 100 g
This site uses cookies, including from third parties, to optimize the user experience while browsing and allow basic functionality; collect anonymous statistics; profile the user to send him advertising in line with his preferences.